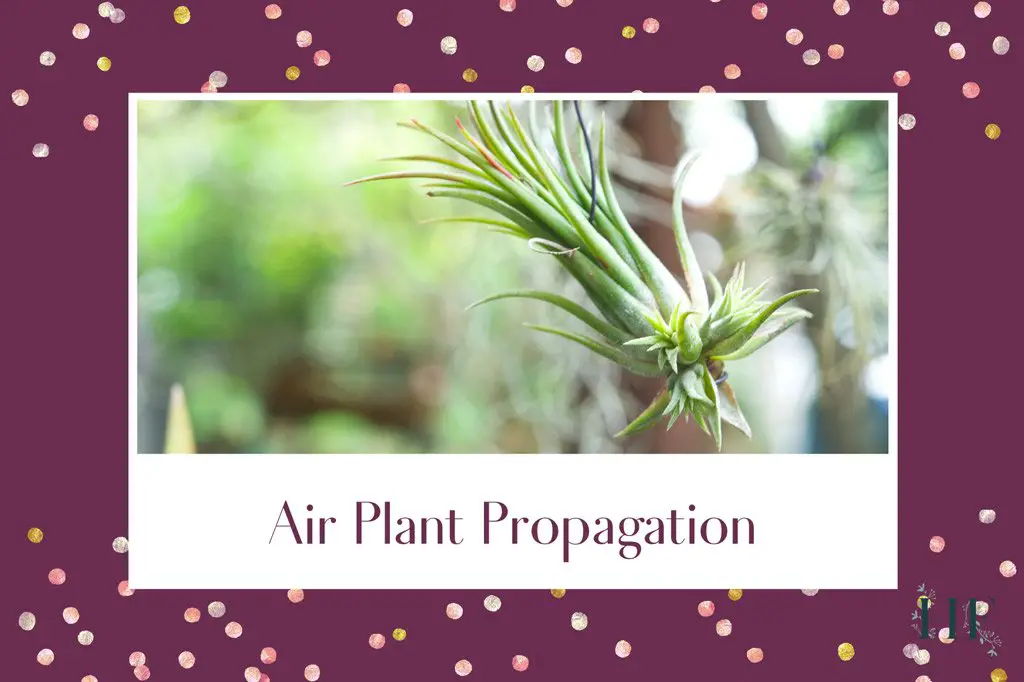
If you got your hands on an air plant, you might be wondering about propagation. How do you propagate air plants?
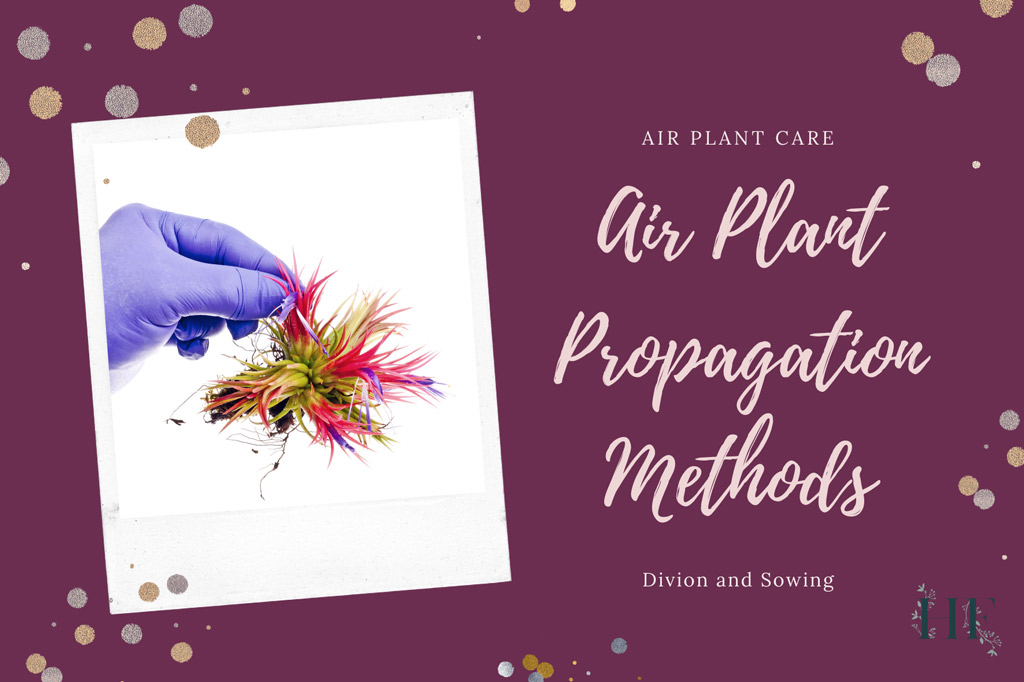
Air plant propagation can be done by division or sowing. The easiest way to propagate air plants is by dividing the pups or offsets from the mother plant. This is done when the pups are a third the size of the parent plant.
In this blog post, I will explain air plant propagation methods, especially how and when to separate the pups from the mother plant.
Air Plant Propagation
You cannot propagate your Tillandsia by taking air plant cuttings as you will do with a begonia or a philodendron.
Air plant propagation can be done by dividing the offsets or pups from the mother plant or by sowing the seeds from a pollinated Tillandsia (source).
Between the two propagation methods, separating the pups from the mother air plant is by far the easiest way to do it (both for plant lovers and professional growers). Plus, not all air plants will give seeds.
Let’s go through both options.
1) Division Method (Offsets)
After or whilst flowering, air plants start producing offsets. All Tillandsias will produce pups since they follow an asexual reproduction.
These pups are miniature versions of the parent plant and they will produce plants with characteristics identical to the mother plant.
You can propagate your air plant by dividing the plant. This consists of detaching the offsets from the parent plant.
I will expand on this further down (refer to the How to Propagate Air Plants section below).
2) Sowing Method (Seeds)
After blooming, apart from producing offsets, air plants can also produce seeds. The flowers of an air plant need to be pollinated so they can form seed pods. Otherwise, it will only grow pups.
The production by seed germination can be more difficult depending on your expertise. Tillandsia seeds need warmth, moisture, light, and good air circulation for germination and survival.
Refer to the How to Grow Air Plants from Seeds section for a step by step explanation.
Read also: Air Plant Life Cycle, Reproduction and Growth Rate.
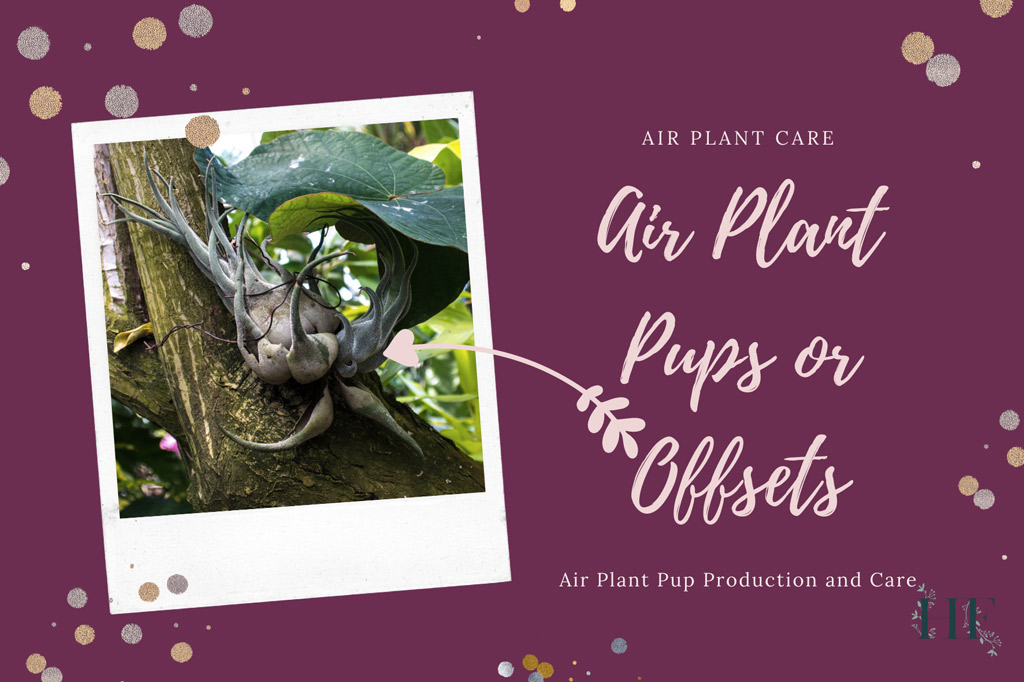
Air Plant Pups
Here’s what you are probably wondering…
How Long Until Air Plants Produce Pups?
Pup production occurs shortly after an air plant’s first bloom cycle. Depending on the species, an air plant can take 6 months to several years to produce its first bloom.
Although according to the type of Tillandsia, it will produce offsets before, during or after flowering, producing offsets, this process is linked to its blooming.
For instance, some varieties like the T. Xerographica are much slower to bloom and produce pups.
Remember that there are no two identical plants. Depending on the environment (light, airflow, temperature and humidity), the peak of flowering can vary in the same species.
There are several things you can do to encourage pups but I will get to that in a moment.
How Many Pups Does An Air Plant Produce?
Again, depending on the type of air plant, Tillandsias will produce 1 to 3 pups on average. Usually, these little offsets can be found at the base of the plant (you are likely to notice “new growth” at the sides).
But they can also be found protected under dying leaves. In some varieties, pups can emerge out of the flower stalk instead.
How Can You Encourage Pup Production?
All Tillandsia will go through the offset production process at some point in their lifecycle.
But, in order to thrive through the blooming process and produce offsets, your Tillandsia requires:
- Light – Air Plant Light Guide – How Much Light Do They Need.
- Water – Air Plant Watering Guide – How to Water and Mist Tillandsias.
- Nutrients – Air Plant Nutrients Guide – When to Fertilize Tillandsias.
- Airflow – Air Plant Environment – Light, Temperature, and Humidity Needs.
Quantity, levels and frequency depend on the kind of air plant you have; check each guide for detailed recommendations.
Be patient and enjoy the whole life cycle of your air plant!
Air Plant Pup Care
You will continue to take care of the parent plant and its pup as usual.
But, take care to not damage the pups as they are very delicate and tender whilst they are growing. For instance, use caution when pruning your air plant.
When Do You Separate Air Plants?
The longer the pups stay attached to the parent plant, the sooner they will mature. However, if you want to propagate your air plant, it’s better to remove the pups when they are still small.
Pups can safely be separated from the parent plant when they are about one third the size of the mother plant.
You can also look at the roots of the pups to know the best time for separation. If there is significant root formation, then carry on.
However, smaller pups don’t always sprout roots early on since they don’t need roots to survive. So, you should pay attention to the size of the offset too.
Once you have detached the offsets, you can treat them as adult plants.
How Do You Separate Pups?
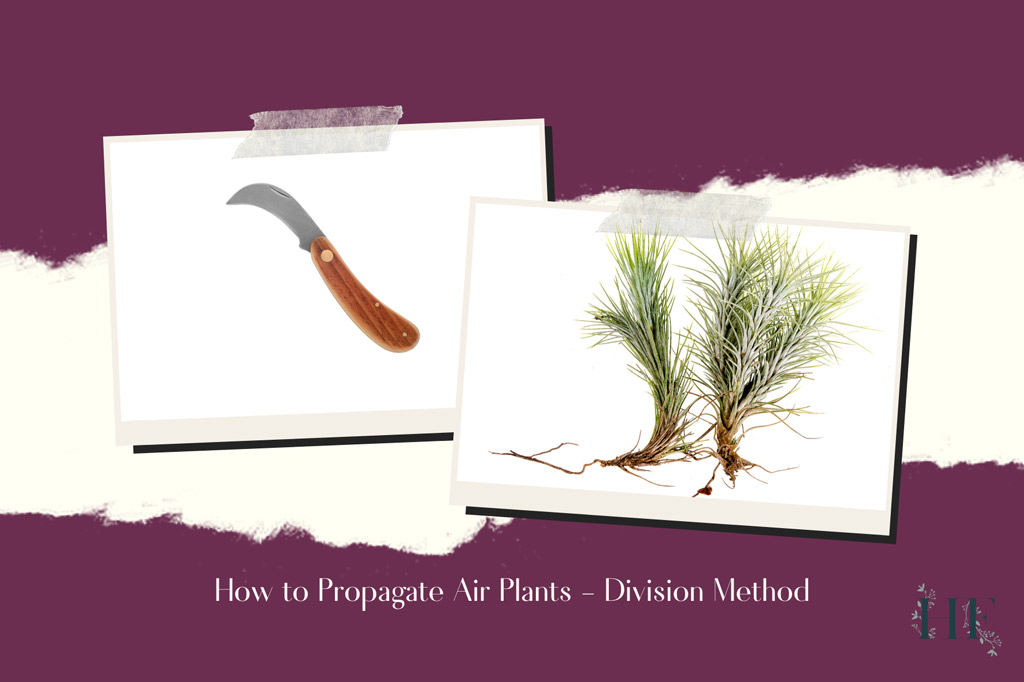
You can separate the pups from the parent plant using the division method. This means dividing the plants with a clean cut.
Continue reading for a step by step explanation of How to Propagate Air Plants using the division method.
What Happens If You Don’t Separate the Pups?
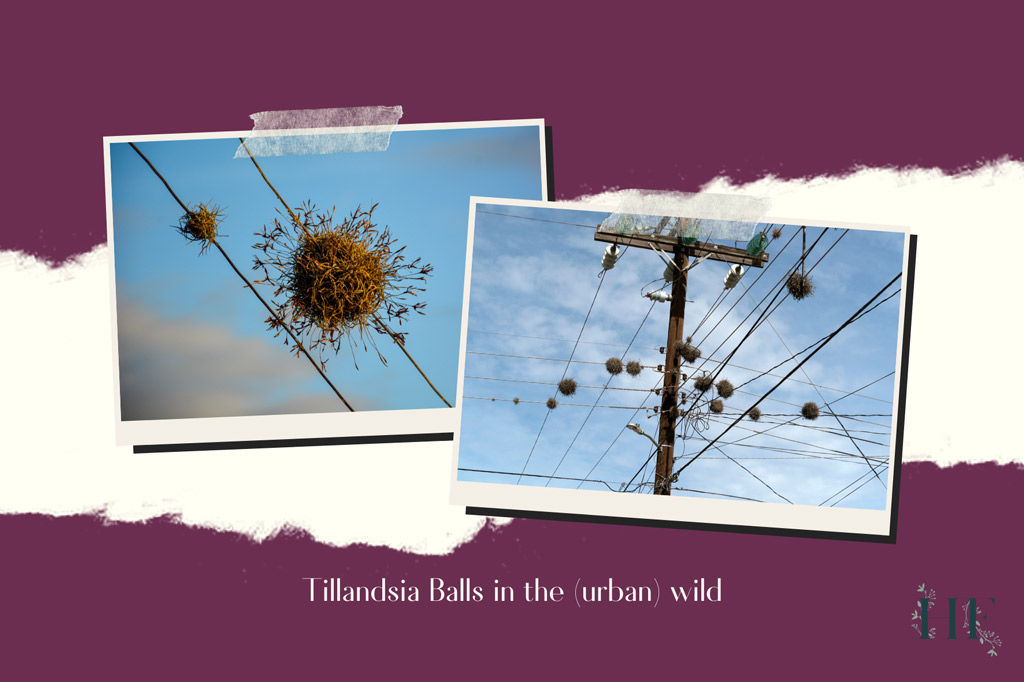
If you leave the pups connected, they will continue to grow even after the mother plant dies. They will form an air plant clump or cluster, basically, a group of air plants arranged in a circular shape. This formation is also known as “tillandsia balls.”
In their natural habitat, as you can imagine, pups stay attached to the parent plant until it dies. Air plants will create beautiful clumps naturally.
So, it’s a completely safe option to keep your air plant as one. I.e., removing the offsets it’s not necessary.
Large balls of plants are highly desirable and you display them by hanging them from a wire (see examples for wild and human-grown Tillandsia clumps).
Over time, large balls of air plants can cover whole tree branches and rocky protrusions in the wild (or your garden!)
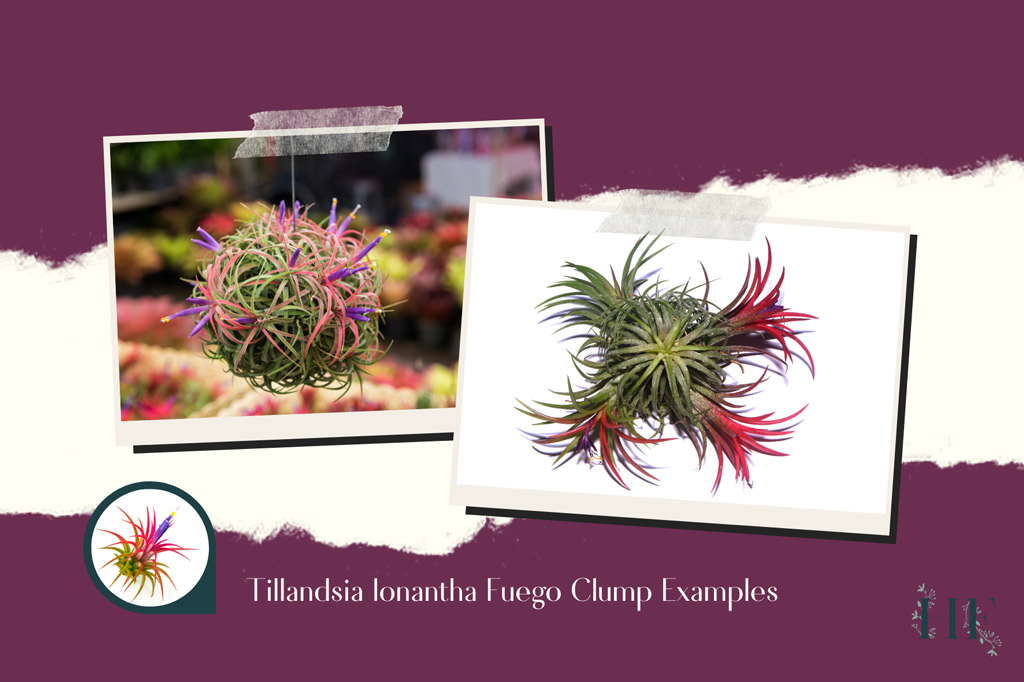
By hanging clumping T. Ionantha, for example, the pups will grow at 360º degrees and will form a round clump.
How to Propagate Air Plants
The easiest way to propagate your air plant is by division. And the recommended time to do it is during the morning or early afternoon.
What You Need to Propagate Air Plants
- A bowl with lukewarm water.
- A sharp gardening knife – to ensure a clean cut.
- Pliers (if your air plant is mounted).
How to Propagate Air Plants (Step by Step)
Here’s how to propagate your air plant using the division method:
1) Remove the Plant from Its Display
Remove your Tillandsia from its display. For air plants mounted on wood, use pliers if necessary.
2) Hydrate Air Plant Before Propagating
Place the air plant in a bowl of water for 2 or 3 hours to hydrate it. This step will make your work easier.
Afterwards, remove the Tillandsia from the water.
3) Locate Where to Separate The Plant
Place the air plant on a flat surface and gently spread the leaves to reveal the pups at its base.
Work the leaves apart with your fingers to locate where the plants are connected.
4) Separate the Pups from The Parent Plant
Once you have located the pups, it’s time to separate them from the parent plant. There are two options:
OPTION A: Gently pull the plants apart at the base (i.e., snap them apart using two fingers on each plant). Take care not to pull by the leaves, since the leaves can break if you pull from the top.
OPTION B: Use a sharp knife to cut the pup away from the mother at its base. To avoid damaging the pup, cut as close to the parent plant as possible.
5) Let the Cut to Callus Over
When you have safely separated the pups, allow the separation point on both the mother and newly-separated pup to “harden off” (callus over) for a few days. This will discourage bacterial growth at the cut and also will help to prevent rotting.
6) Water Both the Parent and the Pups
After the cut has dried off, you can water both the parent plant and the pups. Then, let them dry before displaying them.
You can place the mother plant on its original display and decide where you want to put the pups.
7) Choose Where to Display the Pups
Once the offsets are removed, you can grow them just as you would a full-sized air plant. Set them in a bright area, but avoid direct sunlight. If you have a xeric air plant, gradually expose it back to the sun.
You can display the new air plants indoors or outdoors, depending on where the mother plant was before. However, if you are propagating air plants during winter, keep the newly separated pups indoors since they don’t tolerate temperatures below 12°C (54°F).
Read also: 10 Air Plant Display Ideas that Won’t Harm Tillandsias.

How to Grow Air Plants from Seeds
Since I don’t have first-hand experience growing air plants from seeds, I referred to Mark A. Dimmitt, an experienced horticulturist in Tillandsia seed culture (source).
Growing air plants from seeds is a long process, but also a very rewarding one too. It takes years to grow air plants from seed.
The germination process takes about a month and the first few years of growth are very slow. When the air plant reaches about an inch in length, the growth rate increases. Yey!
There are advantages to growing your houseplants from seed though! When you grow a plant from seed, you can tether it to your environment (location, temperature, light, humidity…).
This will make your air plant:
- Stronger: It has grown to thrive in your exact environment.
- Healthier: You reduce the chance of bringing home any pests or diseased plants since you grow them yourself. Sometimes, it’s unavoidable to bring home a plant that has spider mites, for instance, even when bought from a reputable shop.
How to grow air plants from seeds, step by step:
- Prepare a plastic window screen in open-mesh flats suspended in the air. Alternatively, use nylon tights (stockings) stretched over a wireframe or chunks of tree fern fibre. Any airy substrate that will not decay for at least three years should work.
- Sow Tillandsia seeds as soon as possible since they only remain viable for a few weeks under normal environmental conditions.
- Spread the seeds thinly on the substrate so that you can see individual seeds instead of clumps. giving plenty of space so the seeds don’t touch will make your job easier. Once seeds grow, they are easier to handle without being damaged, as well as enabling the seedlings to grow larger.
- Remember, the more widely spaced they are, the longer it will be before they become crowded and require separation to prevent stunting.
- Provide bright but diffused light, good air circulation, high humidity and a temperature of approx. 25°C (75°F) for germination.
- For the first two years or so, the air plants require the same growing conditions as for germination.
- Water by misting heavily whenever the surfaces of the young plants appear dry.
- Feed weekly with an orchid feed or a regular liquid feed at one-quarter strength.
- Once the plants have reached 1.25cm (½ inch) in height, they are ready to be separated into individual plants.
Insider Tip: The seed must be kept damp, but not too damp as to encourage fungus. So, avoid keeping the substrate too moist as this will cause the development of algae, which can suffocate the young air plants. The most serious problem during the tiny seedling stage.
Read also: Air Plant Care – 8 Steps to Grow and Keep Tillandsias Alive.
Propagating pups is one of the most exciting aspects of growing air plants. Hope you have a great time and share your thoughts by commenting below. 🙂